A reader recently asked me, if my dulce de leche recipe could be turned into candy. I told her that I hadn’t tried it and it probably wouldn’t work. The ratio of liquid to sugar is too high. After I got this question I was intrigued and looked up a couple of recipes for vegan caramels. Most of them called for at least one or two ingredients I never have on hand or that are very hard to find in Germany (like corn syrup). Then I found a really simple one for regular caramels made with dairy cream. It only called for three things: sugar, water, and cream. No butter or corn syrup required. It also looked like those regular candies were very easy to veganise. And they were!
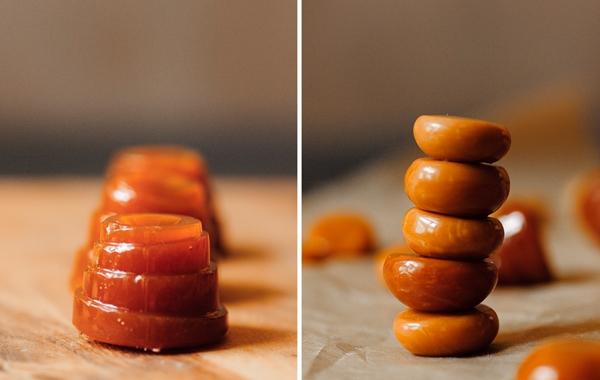
The caramels came out so rich and creamy, I could eat them all day long. I cannot say exactly how long they will keep, I would guess at least two weeks. But will they also last that long? Most probably not! By the way, these caramels aren’t exactly hard candy. They aren’t soft either though. They are sticky. They honestly are every tooth filling’s nightmare and every dentist’s dream. That is my warning to you. Just suck on them. No risk, no candy.
They will also change their shape after a while when stored unwrapped. You can see that in the right picture above: The candy started out as a ball, then flattened a bit when I left it on parchment paper for a couple of hours. When I turned it over it flattened some more. If you wrap it in parchment paper it will mostly keep its shape.
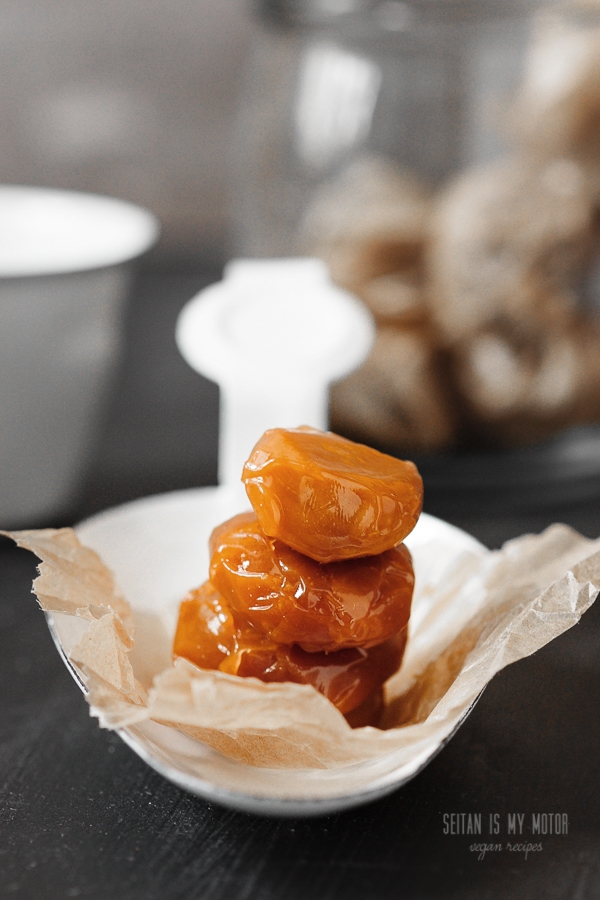
A note about handling: I am that kind of person who cuts vegetables directly into a pot, no cutting board necessary. For my first batch I simply shaped the candy mass into balls as soon as I could handle the heat. It was still very hot and gooey but I felt like a real candy making pro, stretching and pulling the candy mass with my hands! (The more you stretch, pull, and fold the lighter the colour, by the way.) But I strongly advise against doing this, of course. Instead, you should get some small silicone molds that are used for chocolates. (Mine are heat proof up to 250°C – see picture at the bottom of the page.) Just pour the hot caramel mixture into these molds, wait until they have cooled completely, wrap them and store them in an airtight container. It’s the easiest and most simple way to make some excellent caramels. No knifes stuck in a block of caramels and no sticky mess. And if your molds are a bit large, only fill them half way to get the candy size you want.
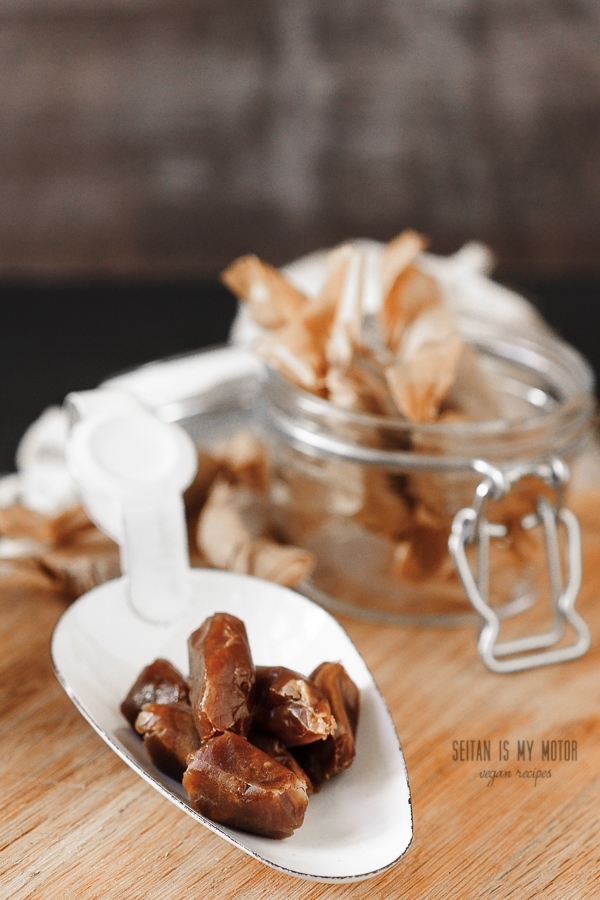
Since my teeth aren’t the best anymore I also wanted to make a candy version that was actually chewable. And P wanted coffee caramels. So for the batch right above, I simply increased the amount of coconut milk by one tablespoon and mixed it with one tablespoon of instant coffee granules before stirring it into the hot sugar syrup. These are also so good! And of course to make this caramel recipe perfect, I included a salted version in the recipe instructions.
Notes:
- I admit that working with caramel isn’t always easy and it might take a little experience. A great tip I got from the original recipe I linked to is not to stir while you wait for your sugar to melt and your caramel to brown. This is very important. If you stir some sugar crystals sticking to the side of the pot might fall into the mixture. If that happens the melted sugar recrystalises, which means you’ll end up with a gritty hard mess and you have to throw everything out. There’s not need to dissolve the sugar in the water. This will happen all by itself. So don’t stir at any point.
- These candies are based on wet caramel, which is a mixture of water and sugar. Another method to avoid any sugar crystals sticking to the side of the pot is to add the water first and then carefully and slowly pour the sugar on top. The sugar should be piled up in the middle of the pot and the water should surround this island of sugar. After that just switch the heat on and wait until the caramel has reached the desired colour and temperature. If you follow these tips, you should be able to make your own easy vegan caramels in no time!
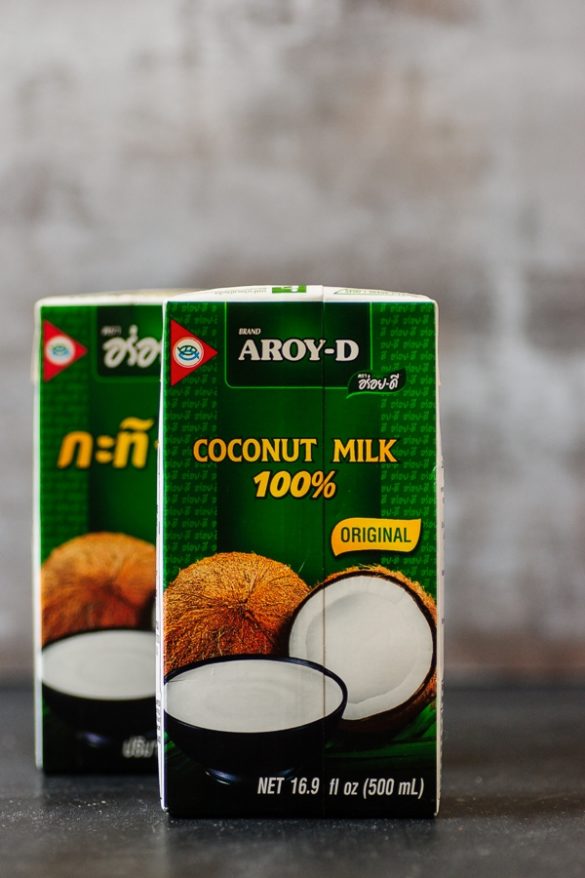
- The choice of coconut milk here is important! You should make sure it is smooth and looks homogenised like milk. My preferred brand is Aroy-D coconut milk which contains only coconut and water. I buy the tetra packs and store them unopened at room temperature. (See picture at the bottom of this page.)
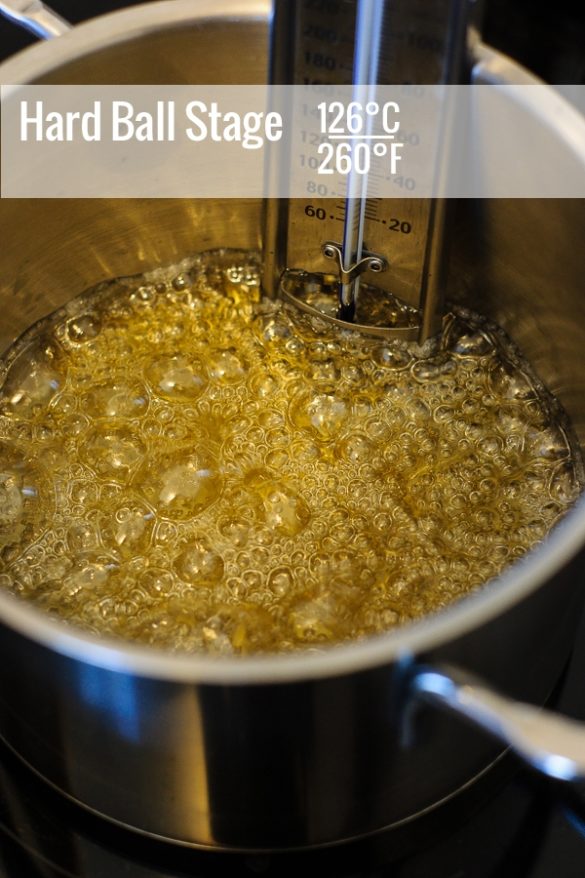
- The time to reach specific caramel boiling stages will vary! Boiling the sugar to a hard ball stage for example can take from 10-15 minutes. It’s best to just watch the colour and the temperature and not the time.
Easy vegan caramels
Zutaten
- For the basic version
- 6 tablespoons water
- 300 g 1.5 cups sugar
- 3 tablespoons coconut milk
- 1/2 teaspoon salt
- For salted caramels
- 6 tablespoons water
- 300 g 1.5 cups sugar
- 3 tablespoons coconut milk
- 1 teaspoon salt
- For sticky coffee caramels
- 6 tablespoons water
- 300 g 1.5 cups sugar
- 4 tablespoons coconut milk
- 1 tablespoon instant coffee granules
- 1/2 teaspoon salt
Anleitungen
- To make the caramel, place a small saucepan on the stove and add a candy thermometer.
- Pour in the water.
- Carefully pour the sugar in the middle of the pot and make sure no sugar sticks to the side of the pot.
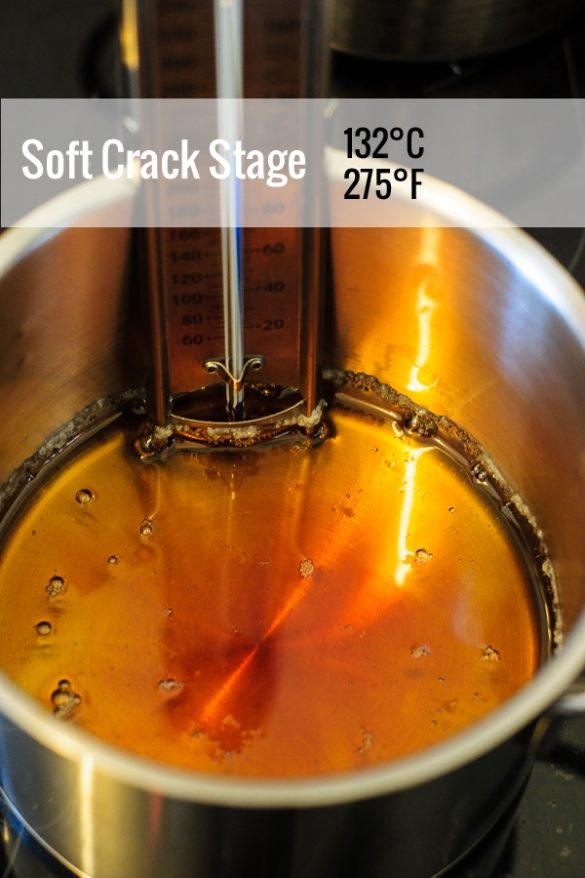
- For the basic version, boil the mixture for 12 to 16 minutes until it reaches 132°C or 275°F and is amber coloured. (This is called soft crack stage - see picture at the bottom of the page.)
- Meanwhile mix coconut milk and salt.
- Remove caramel from heat once it has reached the desired temperature and slowly stir in the salted coconut milk with a wooden spoon.
- Keep stirring slowly until the mixture is smooth. It might take 2-3 minutes to get rid of all the bubbles.
- Let cool for about five minutes and pour into the molds.
- Let cool completely.
- Remove from molds, wrap each candy in parchment paper and store in an airtight container.
- For the salted caramel version, repeat all steps but increase the salt in the coconut milk to 1 teaspoon.
- For the chewy coffee caramels, heat caramel only to about 126°C (260°F) - (hard ball stage, yellow golden colour, see picture at the bottom).
- Stir in 4 tablespoons of coconut milk mixed with 1/2 teaspoon of salt and 1 tablespoon of instant coffee granules.
- Pour into a baking dish lined with parchment paper and let cool completely.
- Use your hands to pull the candy apart and roll it into ball or log sized candy. Wrap in parchment paper and store this version in an airtight container in the fridge.
Notizen

4 comments
I gotta try these. One of my favorite sweets, but healthier, thanks for the idea
You’re welcome! Let me know what you think!
I love how short the ingredient list is! I guess I have to buy candy thermometer :)
You should! I never regretted buying mine. It’s good for so many things.
Comments are closed.